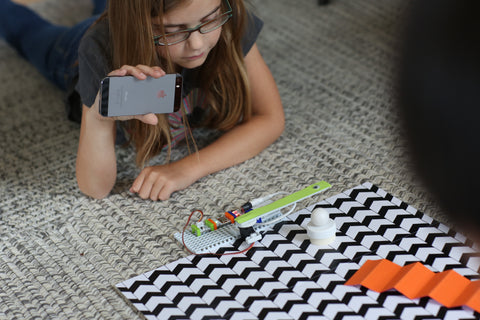
Sphero makes remarkably cool, programmable robots and STEAM-based educational tools that transform the way kids learn, create and invent through coding, science, music, and the arts.
Using information available, combined with skills acquired, can help make good decisions. That’s the basic process of critical thinking. Critical thinkers can solve problems by keeping a clear mind and rational thoughts that will help you analyze a situation and make a sound decision.
STEM teaching is the hands-on exploration of science, technology, engineering, and mathematics concepts, and it’s becoming an increasingly important part of modern-day education. STEM skills grant students the 21st-century abilities needed to perform a wide range of both essential and highly-skilled jobs.
Risk-taking, leaping, trying again, and failing are part of our genetic material. Without it, humans would not have inhabited every corner of this planet. Oftentimes we can see failure, particularly in exams, as negative — one of the worst things we can allow students to experience. But what if we allow students to fail in a safe space and make learning a personal endeavor?
Go #BeyondCode and enrich your learning experience with engaging STEAM activities that foster creativity and collaboration.
Sphero makes remarkably cool, programmable robots and STEAM-based educational tools that transform the way kids learn, create and invent through coding, science, music, and the arts.
Using information available, combined with skills acquired, can help make good decisions. That’s the basic process of critical thinking. Critical thinkers can solve problems by keeping a clear mind and rational thoughts that will help you analyze a situation and make a sound decision.
STEM teaching is the hands-on exploration of science, technology, engineering, and mathematics concepts, and it’s becoming an increasingly important part of modern-day education. STEM skills grant students the 21st-century abilities needed to perform a wide range of both essential and highly-skilled jobs.